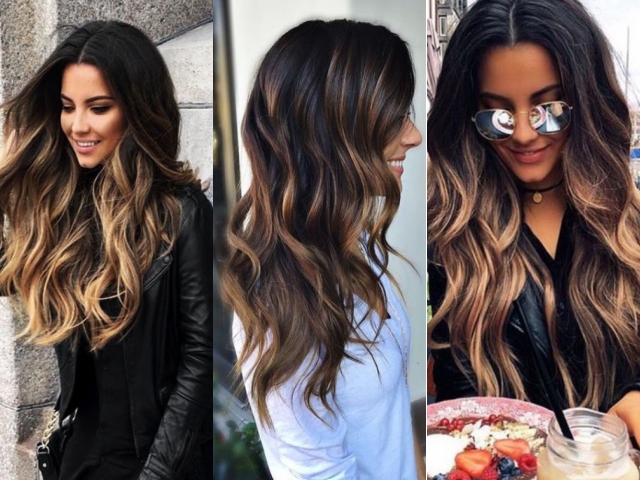
We all need a change in our look from time to time. Unfortunately, we don’t always have a lot of money to spend at the salon. Nowadays, balayage is one of the best trends. All of the celebrities are trying this new look and rocking it. This technique might seem hard to perform by oneself, but it actually simple once you try it.
Most DIY balayages are both easy to do and budget-friendly compared to a trip to the beauty salon. Check this out to get a nice balayage hair without worrying about the money. You can also ask a friend to help you if you think that it is to hard to do by yourself.
How to Balayage Highlights on Dark Hair
Buy and prepare all the ingredients
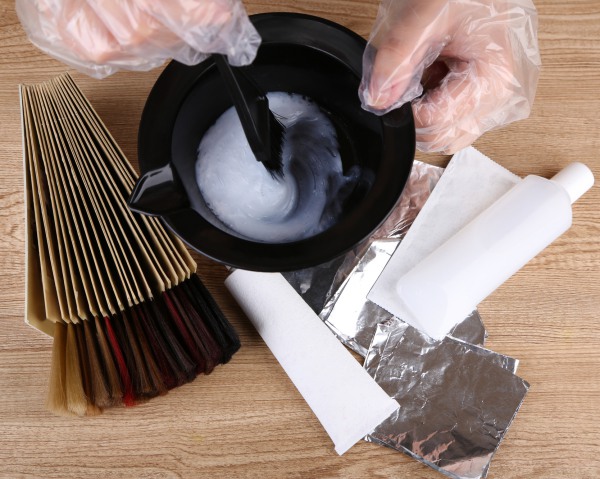
In order to balayage your hair, you will need to purchase a special board and brush. Despite the fact that the board is optional, it is better to have it because it is going to make the process easier and you can use it afterward. You are also going to need a lighter hair dye for dark hair which is just a few tones lighter than your hair.
If you want to protect your hair you will also need a repairing shampoo and a hair treatment that can protect against damage. It is best to have these hair products because the dye can affect your hair. After you got all the products prepare the dye as specified in the instructions and you are good to go.
Get your hair ready
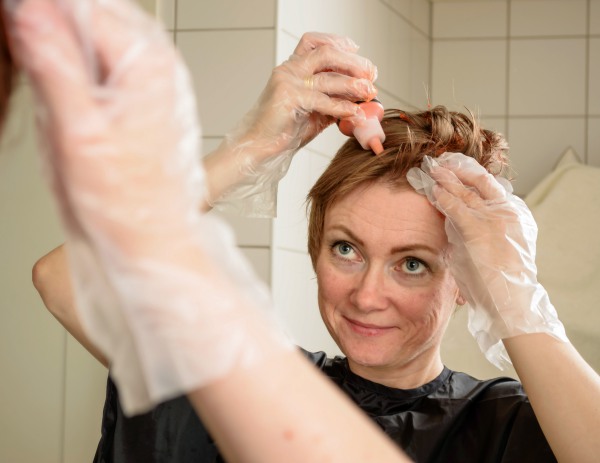
You need to get your hair up for this technique. There are two ways is which you can divide your hair. For the first one, you have to get most of your hair up and leave a thin layer down. Once you colored the layer just get another layer down and so on.
The second way is the hot cross bun. You will need to divide your hair into 4 parts. For the first two devices the hair mid-part. After that use a comb and run it from the middle point of your right ear to the left year. Now you should have the hair tied in 4 smaller buns. It is simpler to perform balayage when you use this hair technique.
Apply the dye on the first layer
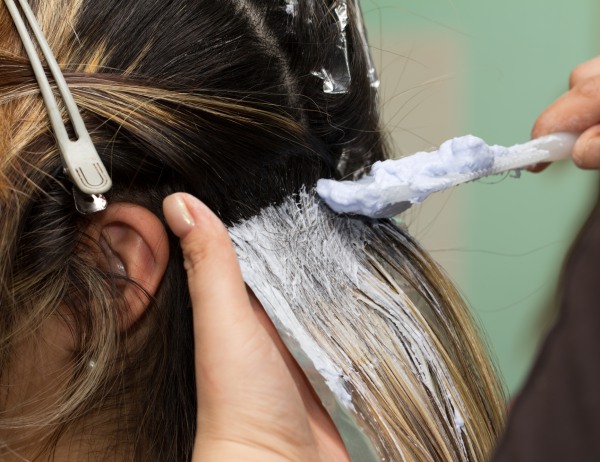
At first, you will need to twist each layer of hair from mid-length to the end. This way you avoid dyeing your roots which need to remain the same color. After you twist your hair you will need to apply the dye from the end to the mid-length. Put the gloves on and use your hands when you apply the dye because it is going to spread better than when you use a brush.
After you finished the first section you will need to secure the layer before untying the second layer. Use plastic wrap and bobby pins. Put one plastic wrap on your shoulders and put the layer of hair on it. After that apply another plastic wrap on the hair and keep them together with bobby pins. After that, you just repeat the previous step on the next layers.
Final touches
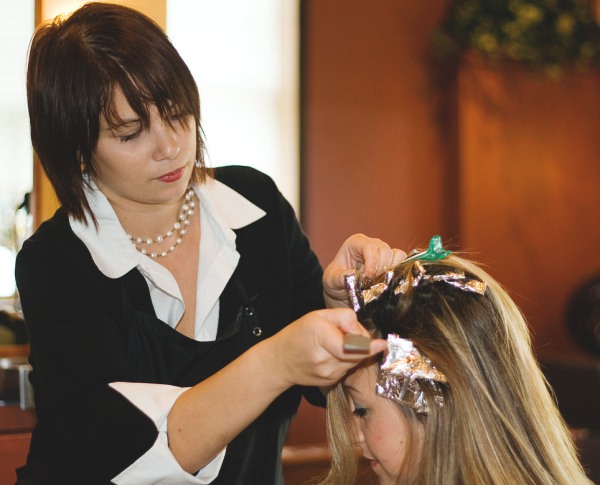
After you finished all of the layers, you will need to do some final touches to make sure that the balayage technique is complete. For instance, some have more highlights from the sun around the face while other people tend to have more highlights in the back. You know your hair better. Just do the final touches as you see fit.
Wait and Rinse
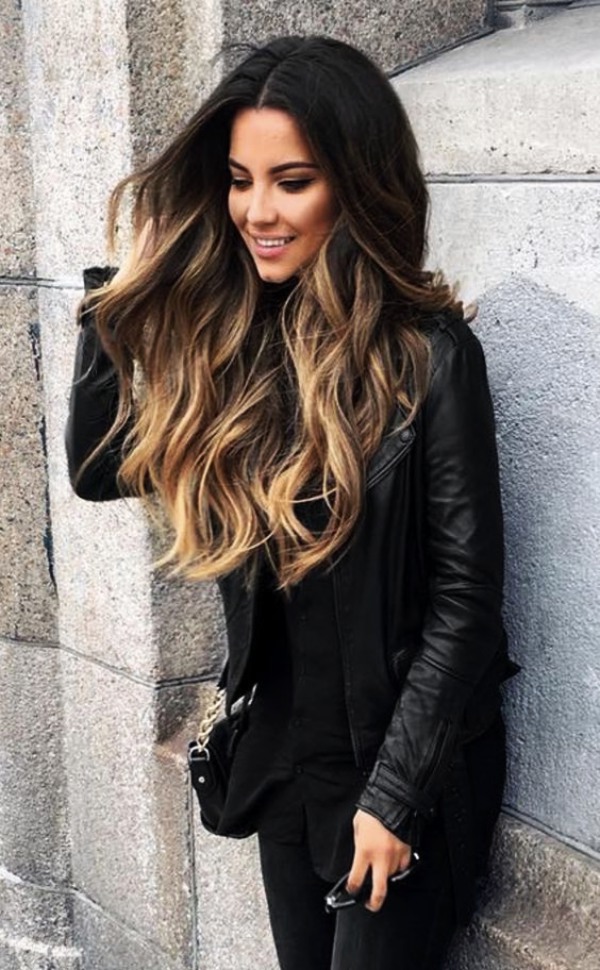
After you finished the whole balayage process, you need to wait for the dye to make its job. Read the instructions once again to see how long you need to keep it. After you waited you need to rinse and apply the hair treatment. Once you are done let your hair dry naturally to avoid hair damage. You can style your hair just the way you like it.
After you completed all of these steps, your hair is going to look amazing. You are now a balayage master. Use this technique anytime you want. Remember to always follow the instructions of the dye for the best results. Also, always apply a hair treatment afterward to avoid hair damage.
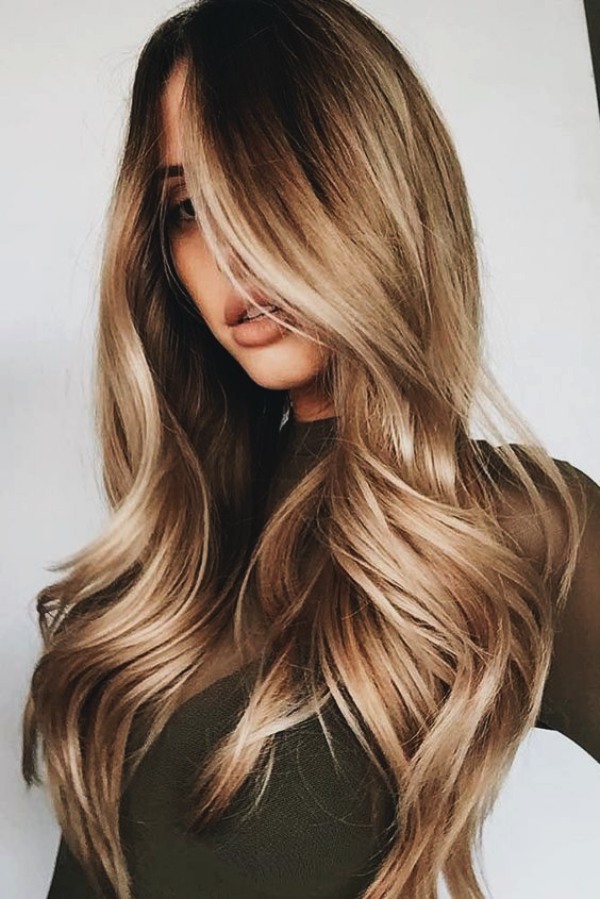
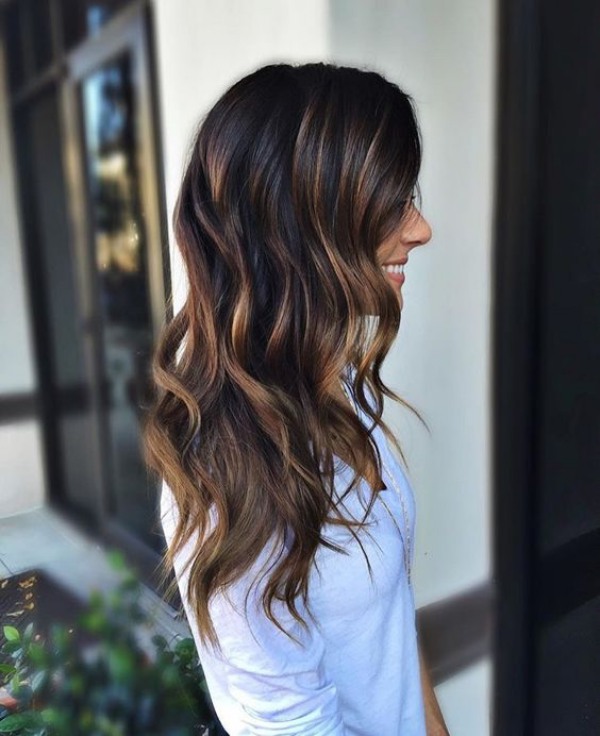
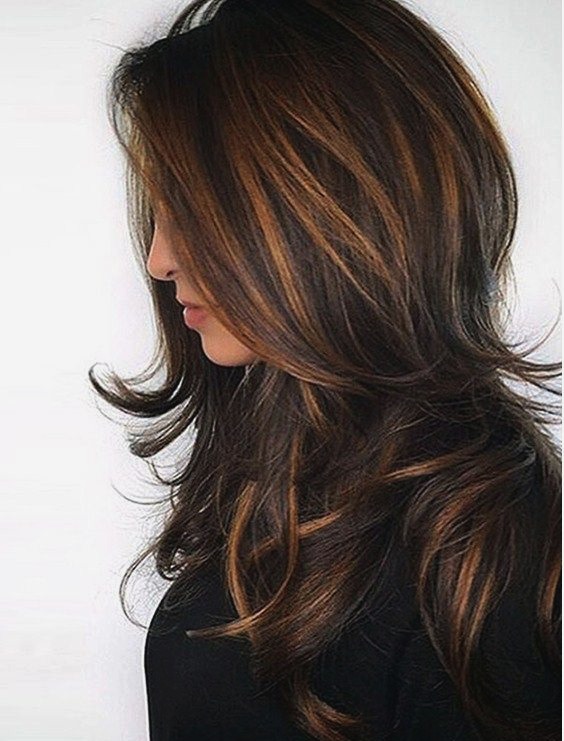
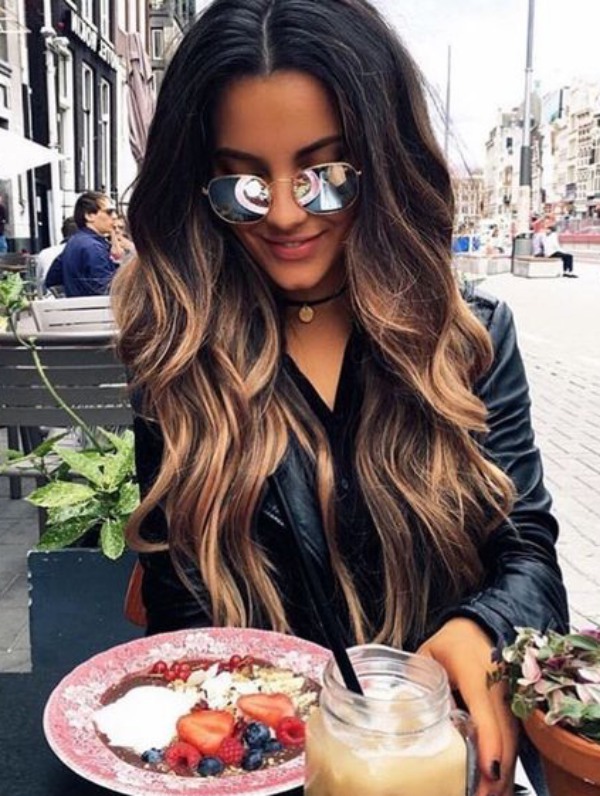
This is a simple DIY balayage technique that can be done in about 1 hour (depending on the length of your hair) by anyone, at home. Once you got used to this technique you can try out other interesting hair coloring methods like ombre.
